
Planning a Kitchen Extension: The Order to Do Things In
Updated: 5 days ago
Most kitchen extensions get planned in the wrong order. The extension gets designed, planning goes in, the walls go up, and only then does anyone start thinking about where the sink goes. By which point the drainage is in the wrong place and the only wall long enough for the run of units has a window in it.
The fix is simple to say and easy to skip: design the kitchen layout and the extension together, in the right order. We build extensions and handle kitchen fitting in Kettering and across Northamptonshire, so we see both halves of this job, and the steps below are the order we work in.

How do you plan a kitchen extension?
Plan a kitchen extension by working out the kitchen layout and the extension design at the same time, not one after the other. Decide what the space needs to do, sketch the kitchen layout, then size and shape the extension around it. Get the services (drainage, gas, electrics) mapped before you finalise the design, then apply for planning permission and build.
Step 1: Work out what the space actually needs to do
Before anything else, be specific about what you want from the room. "More space" isn't a brief. The questions worth answering:
Who cooks, and how many at once? A single cook and a family of five in the room have very different needs from two people cooking together.
Do you want to eat in here? A dining table for six needs roughly 3m by 3m of clear floor, on top of the kitchen itself.
Do you want to sit in here? A sofa or seating area in an open plan kitchen changes the footprint significantly.
What else has to fit? Utility, boot room, downstairs WC, pantry, home office corner, laundry. All of these have to come out of the same footprint.
What's currently driving you mad? No worktop space either side of the hob. Nowhere to put the shopping down. The fridge opening into the doorway. These are the problems the new room has to solve, and they're easy to accidentally rebuild.
Write it down. This list becomes the test you measure every design decision against.
Step 2: Choose the type of extension
The footprint you need, plus the shape of your plot, determines the type of extension.
Single storey rear extension. The default. Pushes into the garden. Simple, effective, often the cheapest per square metre.
Side return extension. Fills the narrow strip alongside the house. Common on Victorian and Edwardian terraces. Adds width, which is often what a narrow galley kitchen actually needs.
Wrap around extension. Combines both. The biggest transformation available on a terraced or semi-detached property, and usually the right answer if you've got a side return doing nothing. Our guide to wrap around extensions covers the costs and planning rules in full.
Double storey extension. Adds a bedroom or bathroom above the new kitchen. Often better value per square metre than single storey, but more disruptive, and it usually needs planning permission. A two-storey rear extension falls within permitted development only in limited cases (no more than 3m deep, at least 7m from the rear boundary, matching roof pitch).
Infill or conservatory conversion. If you've got an unused conservatory or a recessed corner, converting or infilling it can be cheaper than building fresh.
Step 3: Design the kitchen layout before you fix the extension design
This is the step most people skip, and it's the one that matters most.
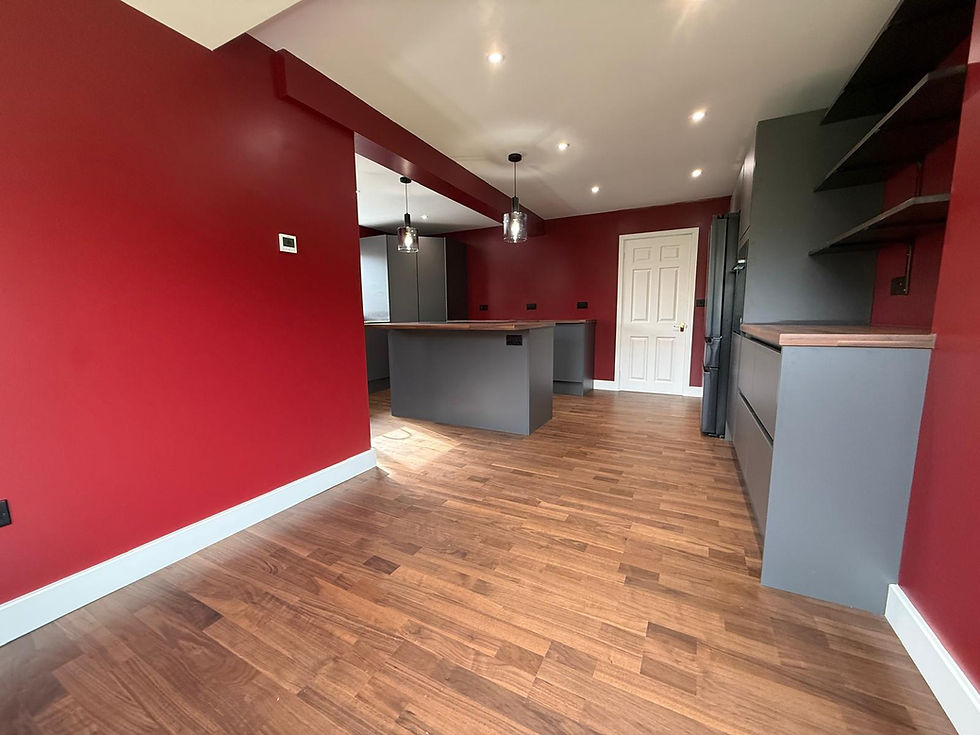
Sketch the kitchen layout first. Where's the sink, where's the hob, where's the fridge, where's the island. Then design the extension around it. Not the other way round.
The reason is simple: the kitchen has constraints the extension doesn't. The sink wants to be near existing drainage. The hob wants to be somewhere the extraction can vent. The fridge wants to not be in the walkway. The island wants 1m to 1.2m of clearance on every side. Cabinets need continuous wall runs, which means they fight with doors and windows.
If you fix the extension design first and then try to fit a kitchen into it, you'll be compromising the kitchen. If you design the kitchen first, you can shape the extension to suit.
Layouts worth considering:
L-shaped. Two runs at right angles. Efficient, leaves floor space for a table. Works well in most rectangular extensions.
U-shaped. Three runs. Maximum storage and worktop, but eats floor area and can feel enclosed.
Galley. Two parallel runs. Efficient in narrow spaces, particularly side returns.
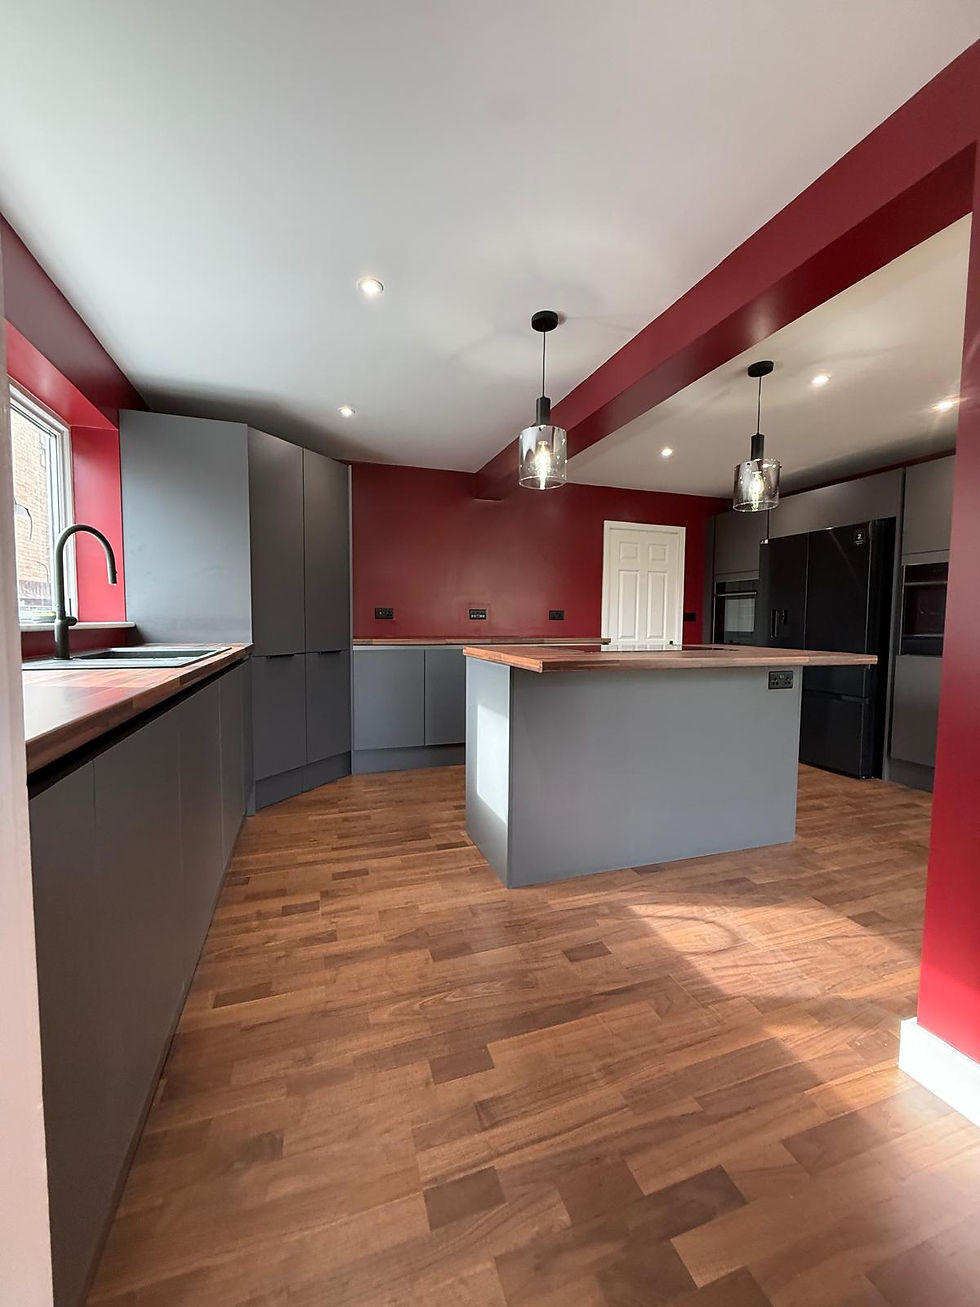
Island layout. A run against the wall plus a freestanding island. Needs at least 3.5m of width to work without feeling cramped. The most requested layout and the one most often crammed into a room that can't take it.
Peninsula. An island attached to a wall at one end. Half the clearance requirement of a full island. A good compromise in rooms that are almost, but not quite, wide enough.
Step 4: Map the services before you commit
The services are where kitchen extensions go over budget. Getting them mapped early turns them from surprises into line items.
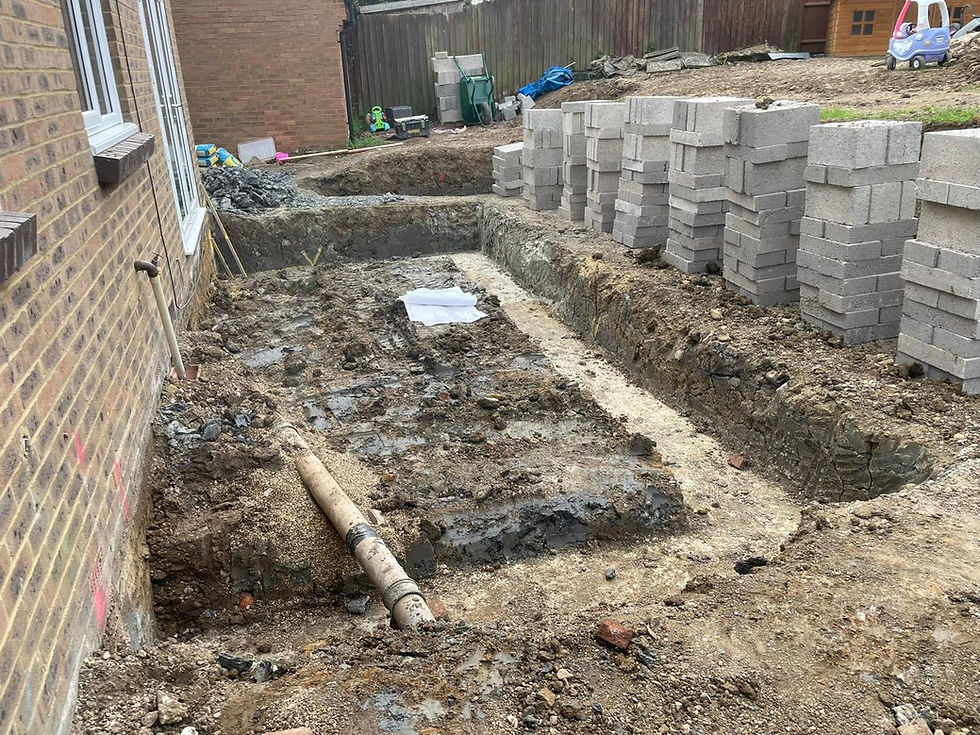
Drainage. Where do the existing foul drains run? Can the new sink and dishwasher connect without a long, awkward run? Is there an inspection chamber in the proposed footprint? Drains sitting under the extension also affect the depth of the foundations, because the footings have to go below the pipe.
Extraction. Where can the cooker hood vent to? A ducted hood venting outside is far more effective than a recirculating one. If the hob sits in the middle of an island in the middle of the room, the ducting has to run through the roof or floor, and that has to be designed in.
Gas. If you want a gas hob and the supply is at the front of the house, running it to the back is a job. Induction removes the problem entirely.
Electrics. A kitchen is the heaviest electrical load in the house. The existing consumer unit may need upgrading, and the circuit design has to account for the oven, hob, dishwasher, fridge and everything else.
Water. Cold feed, hot feed, and increasingly a boiling water tap, which needs its own supply and space under the sink.
Underfloor heating. If you want it, it goes in before the floor screed, which means deciding early. Retrofitting is expensive.
Step 5: Light the space properly
The single most common complaint about a finished kitchen extension is that the middle of the room is dark. The new room is deeper than the old one, and the original rear windows are now internal.
The moves that work, with more in our kitchen extension ideas:
Rooflights. The most effective way to get daylight into the middle of a deep plan. A run of flat rooflights or a lantern over the central zone.
Bifolds or sliders to the garden. Good, but they only light the rear third of the room.
Glazed internal screens. Crittall-style partitions let light from the new space pass back into the original house.
A vaulted or raised ceiling section. Adds volume and allows for higher glazing.
Layered artificial lighting. Task lighting under the wall cabinets, ambient lighting overhead, feature lighting over the island. Three circuits, three switches.
Step 6: Budget properly, including the kitchen
There are two budgets, the extension and the kitchen, and people routinely forget the second one. The shell, the kitchen and appliances, and the extras on top of both (professional fees, flooring, decoration and a 10 to 15% contingency) all belong in the number from the start, and our kitchen extension cost guide breaks down the typical UK ranges for each. It is common to budget for the extension and then discover the kitchen you want costs far more than expected. If you are on the south coast rather than in Northamptonshire, Maros Home Renovations are kitchen fitters in Bournemouth.
Step 7: Planning permission and approvals
Some kitchen extensions fall within permitted development. Many don't, particularly side returns, wrap arounds and anything on a terraced property near a boundary.
Assume you'll need planning permission until told otherwise. A householder application has a statutory 8-week decision period from validation, plus a week or two of validation before that, plus design time before that. Building regulations approval runs alongside or after.
Party wall notices are needed if you're building on or against a shared boundary. Serve them a month before you start excavating.
Step 8: Sequence the build
The order of work on a typical kitchen extension:
Groundworks and foundations. Trenches dug, inspected by building control, concrete poured.
Shell. Walls up, roof on, extension made watertight.
Break through. The existing rear wall comes out, steels go in. This is the disruptive bit, and the point at which you lose your existing kitchen.
First fix. Plumbing, electrics, drainage and underfloor heating installed before anything gets covered up.
Plaster and screed. Walls skimmed, floor levelled.
Second fix. Sockets, switches, radiators.
Kitchen installation. Cabinets fitted, worktops templated and installed (usually a week or two after the cabinets, because stone worktops are templated on site).
Flooring, decoration, snagging.
Total time is typically 12 to 20 weeks on site for a single storey kitchen extension. You'll be without a kitchen from step 3 onwards, so plan a temporary setup (a microwave, kettle and fridge in another room) for most of that.
If you are planning a kitchen extension, we build the extension and fit the kitchen with our own team, so both get designed together rather than one being squeezed into the other. We cover kitchen fitting in Corby as well as Kettering, and as a Federation of Master Builders member we bring over two decades of residential and commercial projects across the East Midlands to every one.
Comments